The Hairstyle HubShort Hair › Pixie Cut Styling Tutorial

Pixie Cut Styling Tutorial

By Jasmine Carter · Published 2026-07-19 · Easy difficulty · 10 min

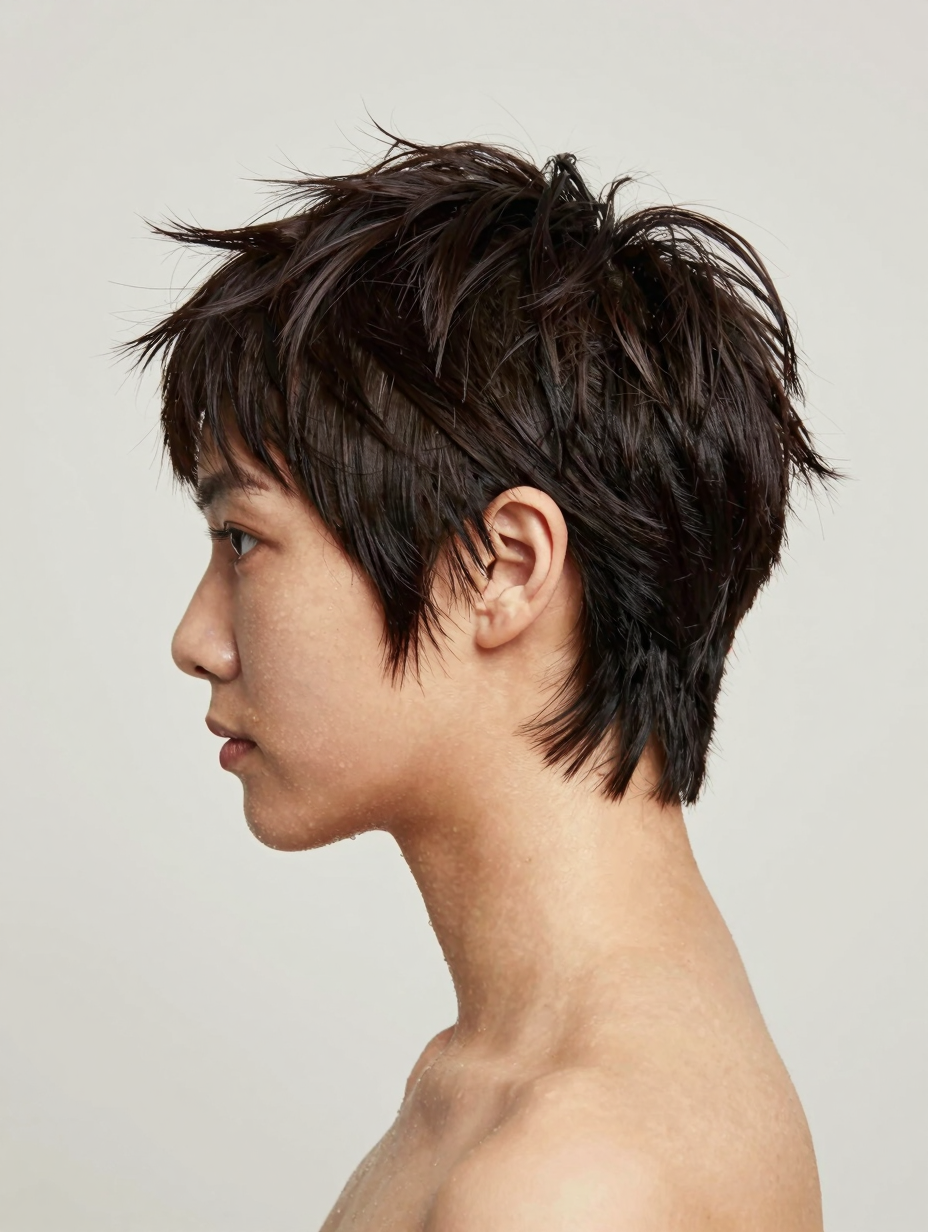
Textured pixie cut hairstyle with lifted roots and defined top pieces

A pixie cut lives or dies on the styling, not the cut itself — the same haircut can look sharp and intentional or completely flat depending entirely on how the roots are dried.

The finger-drying technique that lifts hair up and away from the scalp while it dries is what most pixie tutorials skip, and it's the single biggest difference between a styled pixie and a limp one.
Jump to Tutorial ↓

Work product through hair while it's still damp, not after it's already dry — paste applied to dry pixie hair tends to sit on top in clumps rather than distributing evenly through the shorter strands.

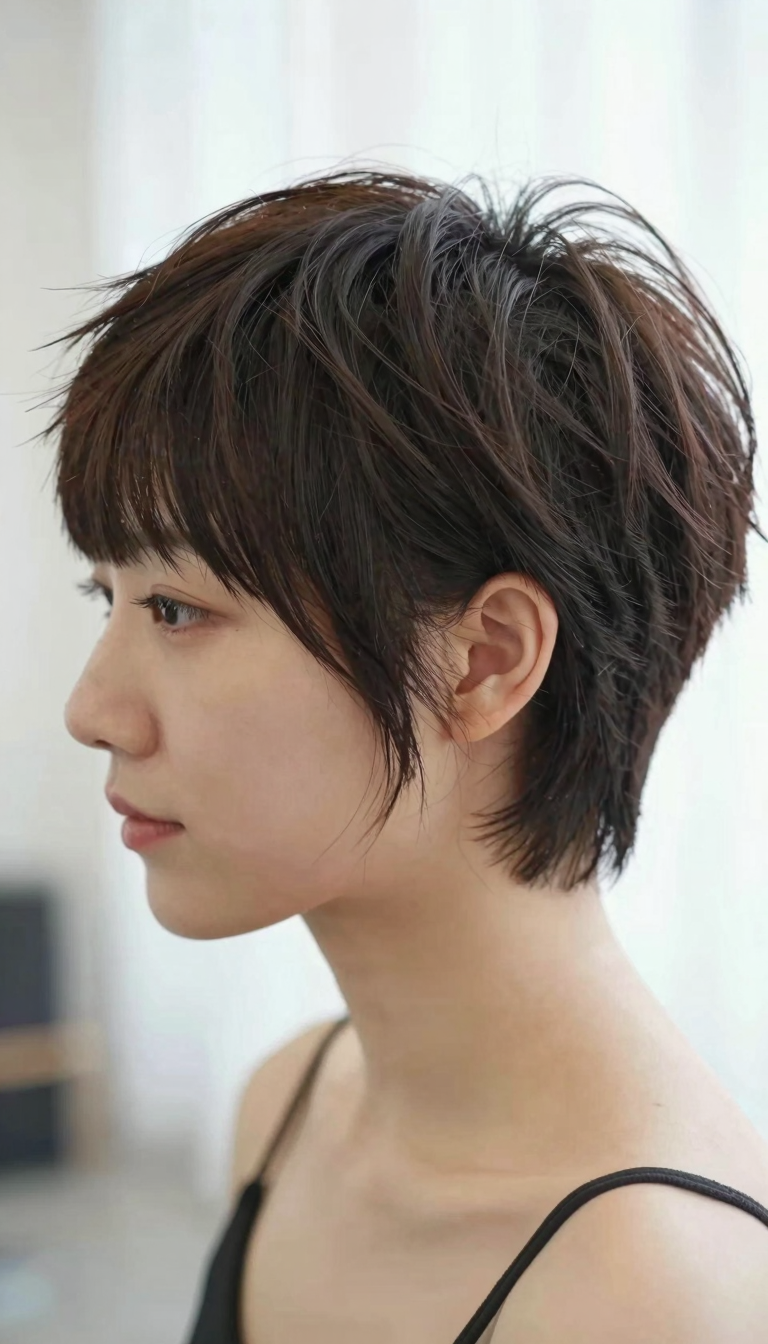
Pixie cut hairstyle, front-facing view with soft side definition Save this tutorial for later — pin it to your short hair board.

Pixie Cut Styling Tutorial

Difficulty: Easy Time to style: 10 min Hair type: straight, wavy Hair length: short

What You'll Need

Steps

  1. 1. Apply product to damp hair

    Rub a pea-sized amount of texturizing paste between the palms and work it through damp hair from root to tip, focusing on the top and fringe area.

  2. 2. Dry with lift

    Blow-dry using fingers to lift the roots upward and forward rather than flattening them with a brush, which is what gives a pixie its shape.

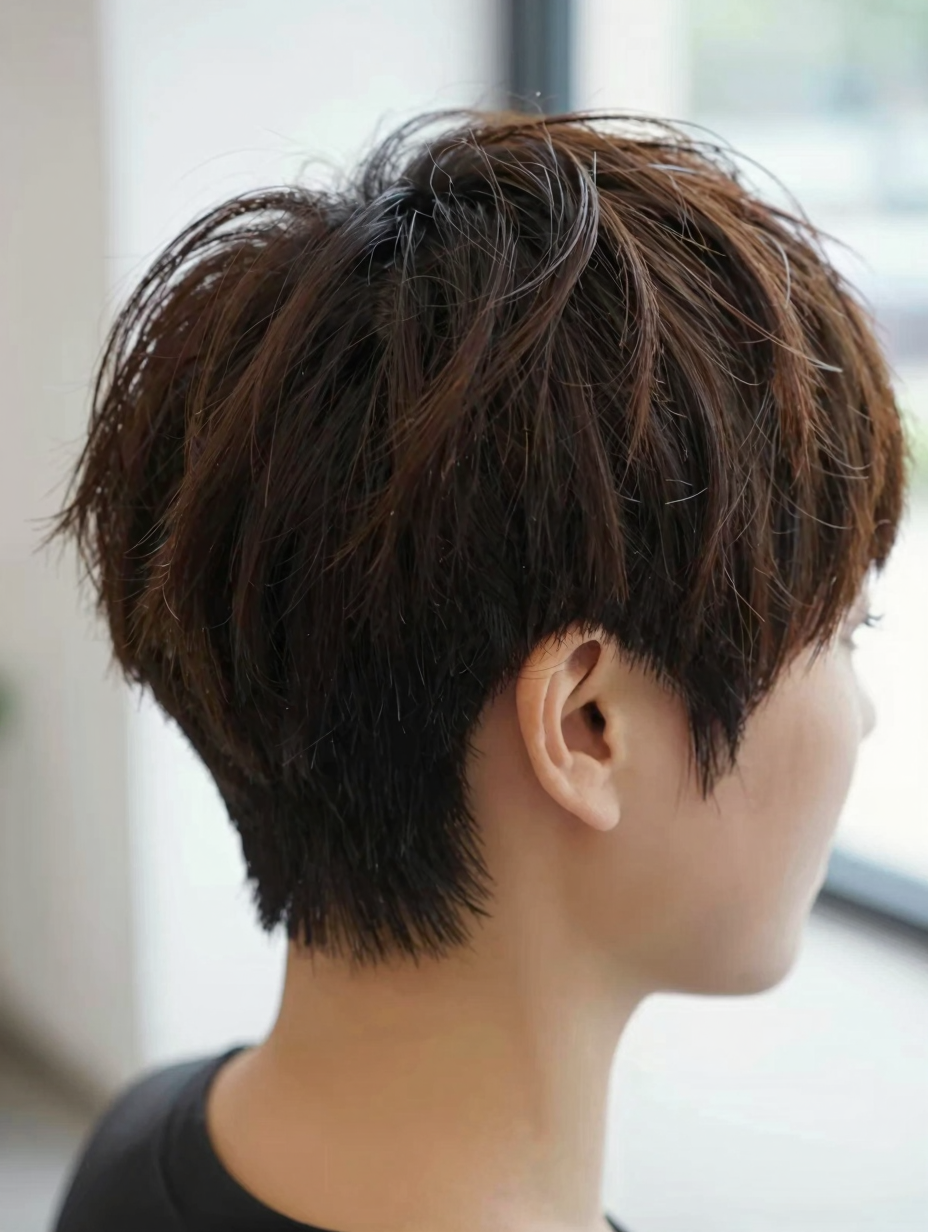
    Close-up of textured paste worked through the top section of a pixie cut
  3. 3. Piece out the top

    Once dry, use fingertips with a small amount of extra paste to pull individual pieces of the top section into place for texture.

  4. 4. Define the sides

    Smooth the shorter sides and back down with a small comb or the palm of the hand for contrast against the textured top.

  5. 5. Set lightly

    Mist with a light-hold spray only over the top texture, keeping the sides untouched so they stay soft rather than stiff.

Tips & Common Questions

Why does a pixie cut go flat within a couple of hours?

Skipping the finger-drying-with-lift step is usually the reason — pixies rely almost entirely on how the roots are dried, since there's very little length or weight to build shape from otherwise.

How much product is actually needed for a pixie?

Far less than most people use — a pea-sized amount of paste is enough for most pixie lengths, and too much product weighs the short top section down instead of adding texture.

What's the best way to manage a pixie during grow-out?

Regular trims every 4-6 weeks on just the neckline and sides keep the shape clean while the top grows longer, which is usually the part people want to grow out first.