The Hairstyle HubWig › Frontal Wig Install Tutorial

Frontal Wig Install Tutorial

By Jasmine Carter · Published 2026-07-19 · Hard difficulty · 2 hr

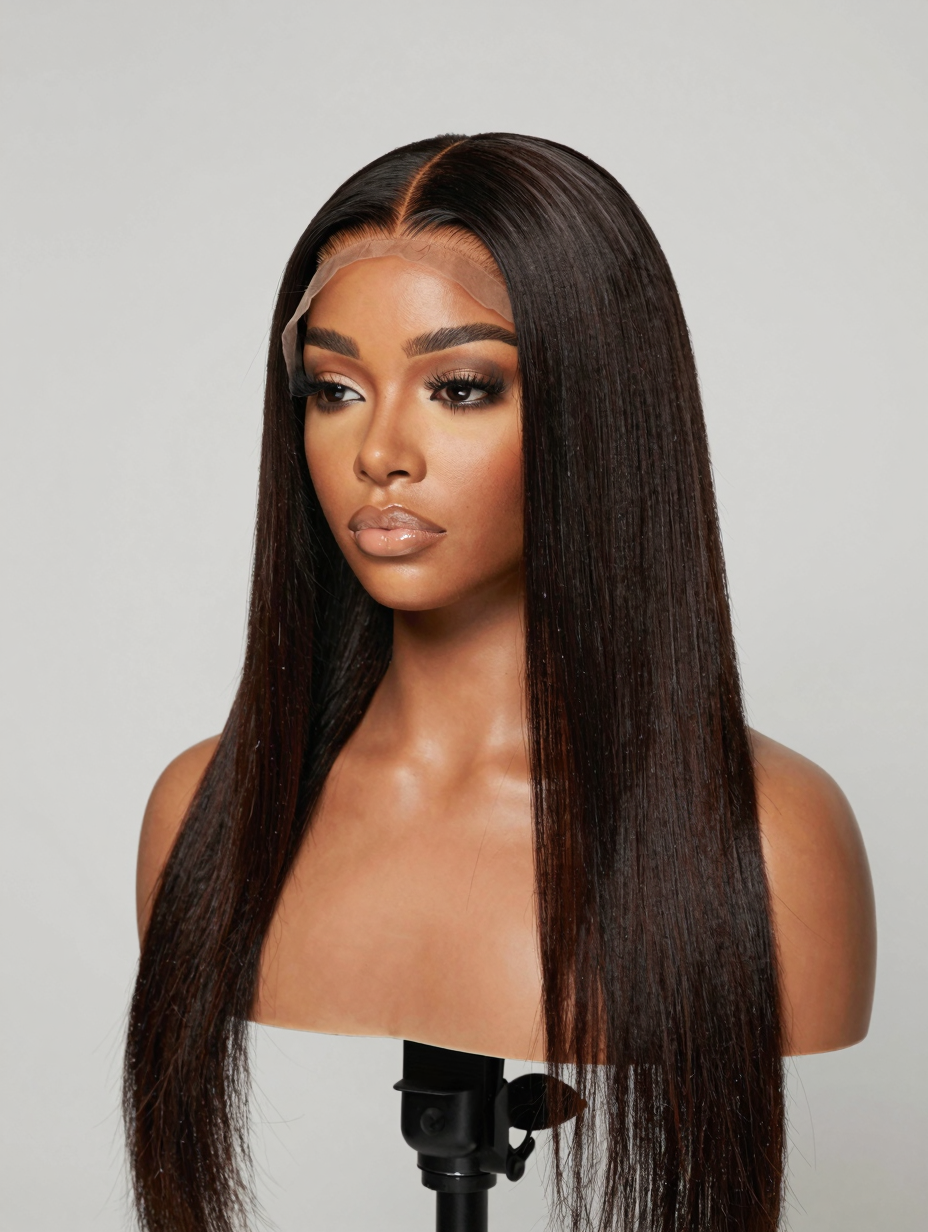
Frontal wig install with natural melted hairline and styled baby hairs

A frontal wig install is one of the more technical styles here — beyond just laying the lace down, the details that make it look like a real hairline (plucking, tinting, melting) are what most beginner installs skip.

Getting those small steps right is genuinely more important than the quality of the wig itself, since even an expensive frontal looks obviously artificial without a thinned, tinted, properly melted edge.

Jump to Tutorial ↓

Never skip tinting the lace to match the scalp — even a well-plucked frontal reads as fake at a glance if the lace itself is a noticeably different tone than the skin underneath it.

Frontal wig hairstyle, front-facing view with natural hairline Save this tutorial for later — pin it to your wig board.

Frontal Wig Install Tutorial

Difficulty: Hard Time to style: 2 hr Hair type: straight, wavy, coily Hair length: medium-to-long

What You'll Need

Steps

  1. 1. Prep the natural hair

    Braid the natural hair down flat, either into cornrows or a flat wrap, and secure a wig cap over it for a smooth, protected base.

  2. 2. Pluck the frontal for density

    Using tweezers, pluck small sections of hair along the frontal's hairline to thin it out — a completely dense lace edge is what most often gives a wig away as fake.

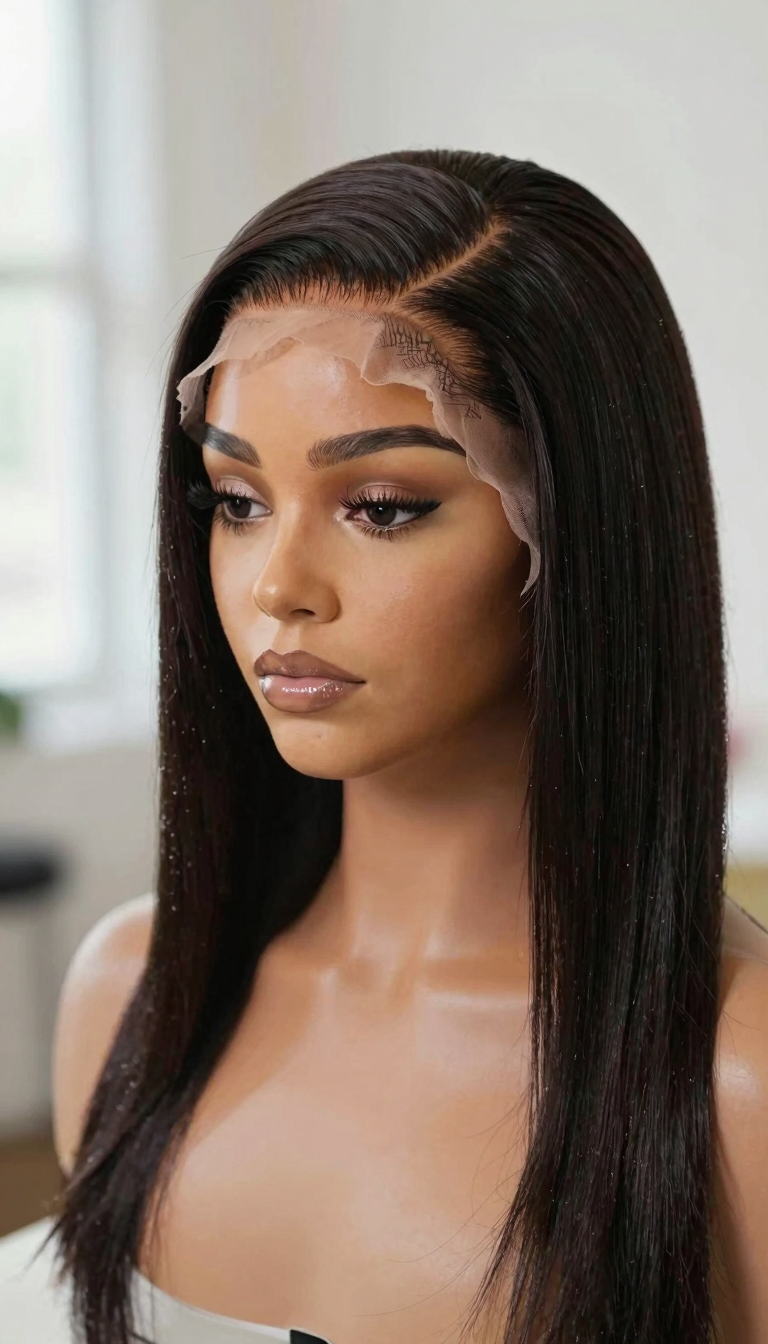
    Close-up of a tinted, plucked lace frontal edge blending into the scalp
  3. 3. Customize the part and tint the lace

    Cut the lace along the front hairline, leaving a small margin, and tint the lace with a concealer close to the scalp tone so it disappears against the skin.

  4. 4. Apply adhesive and lay the wig

    Apply a thin, even line of wig glue or gel along the hairline, wait until slightly tacky, then lay the frontal down starting from the center and smoothing outward.

  5. 5. Melt and style the edges

    Use a hooded dryer or handheld dryer on low heat to "melt" the lace flush against the skin, then style a few baby hairs along the hairline with a small brush and light gel.

Tips & Common Questions

What actually makes a frontal look fake in photos?

An unplucked, overly dense hairline and an untinted lace that doesn't match the scalp are the two biggest giveaways — thinning the hairline with tweezers and tinting the lace are what actually sell a natural look, more than the wig quality itself.

Is plucking the frontal really necessary?

Yes, for a realistic hairline — factory-made frontals come with a uniformly dense edge that doesn't match how real hair grows, so light plucking to create some natural sparseness is a standard, expected step.

How long does a properly installed frontal last before needing to be redone?

Roughly 2-4 weeks with proper care, though this depends heavily on adhesive type and how well the edges are maintained — glue-based installs generally need to be removed and cleaned sooner than gel-based ones.